
Why your iPhone microphone stops working: causes and fixes
- 1 day ago
- 11 min read
A quiet or dead iPhone microphone is usually caused by a blocked port, Bluetooth audio routing, or an app permission issue — and you can rule out all three in under a minute. Apple Support confirms that clearing microphone openings, removing obstructive accessories, and checking app permissions in Settings › Privacy & Security › Microphone resolve the majority of cases before any repair is needed. According to Business Insider, most iPhone microphone problems come down to blocked openings, accessory obstruction, Bluetooth routing, or app permissions rather than a hardware failure.
Run these three checks first:
Remove your case and any screen protector. Some cases cover the bottom or front microphone openings without the user realising.
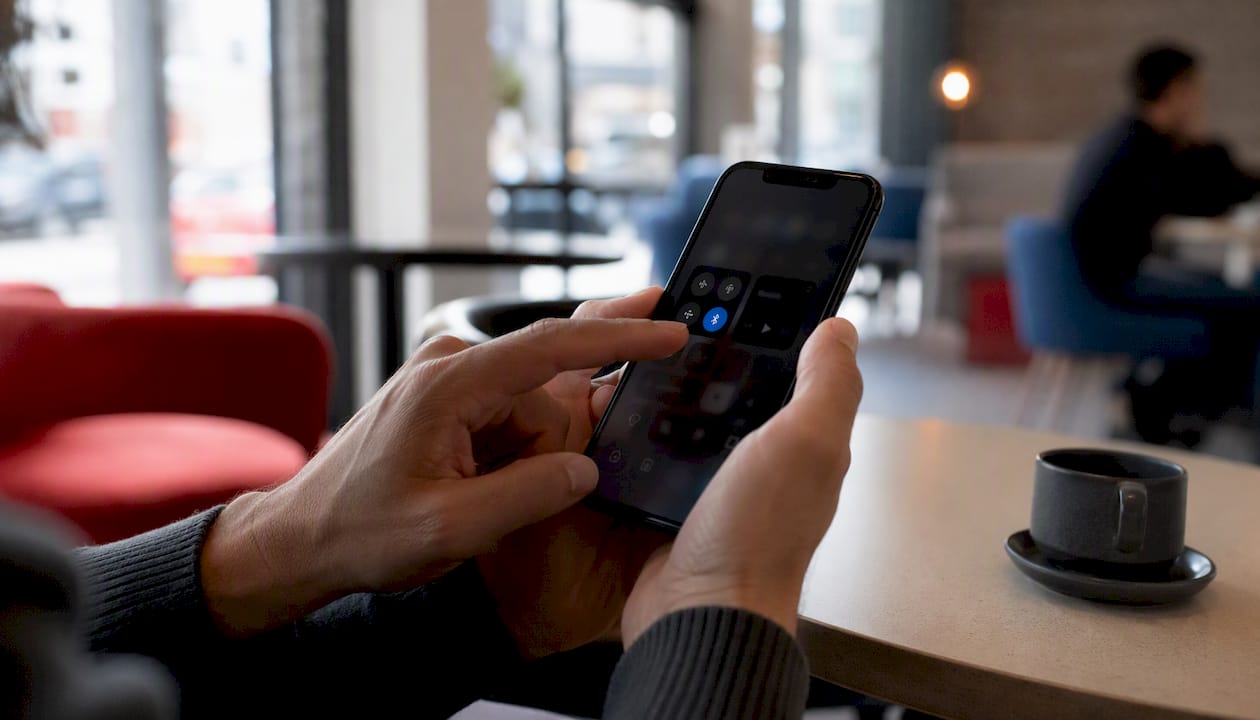
Turn off Bluetooth. Swipe into Control Centre and toggle Bluetooth off. If your mic suddenly works, audio was being routed to a paired headset or accessory.
Open Voice Memos and record ten seconds. Play it back. If you can hear yourself clearly, the bottom microphone is fine and the fault lies elsewhere (an app, a setting, or a different mic).
Pro Tip: If you use AirPods or a Bluetooth speaker regularly, always disable Bluetooth before testing the iPhone’s built-in microphone. The phone will silently route audio to the accessory even when it is sitting in your pocket.
Key takeaways
Most iPhone microphone faults are caused by blocked ports, Bluetooth routing, or app permissions — and a structured three-step test with Voice Memos, the camera, and a Bluetooth toggle will tell you whether the fault is software or hardware before you spend a penny on repair.
Point | Details |
Check the obvious causes first | Remove your case, turn off Bluetooth, and check app permissions in Settings › Privacy & Security › Microphone before anything else. |
Test each mic individually | Use Voice Memos (bottom mic), front-camera video (front mic), and rear-camera video (rear mic) to isolate exactly which microphone is affected. |
Follow the fix order | Work from quickest to most involved: restart, update iOS, clean ports safely, then Reset All Settings as a last software step. |
Book a repair after Reset All Settings fails | If the mic still fails after all software steps and cleaning, the fault is hardware and needs a professional diagnostic. |
Prepare before your shop visit | Back up your phone, note your symptoms, and bring any accessories that seem to trigger the fault to speed up the diagnostic. |
Table of Contents
What causes iPhone microphone failure? How to identify which mic is at fault
Most iPhones have three microphones: one at the bottom (used for calls and Voice Memos), one at the front near the earpiece (used for FaceTime and selfie video), and one at the rear (used for video recording with the back camera). Knowing which one is failing tells you exactly which fix to try — or whether you need a professional diagnostic.
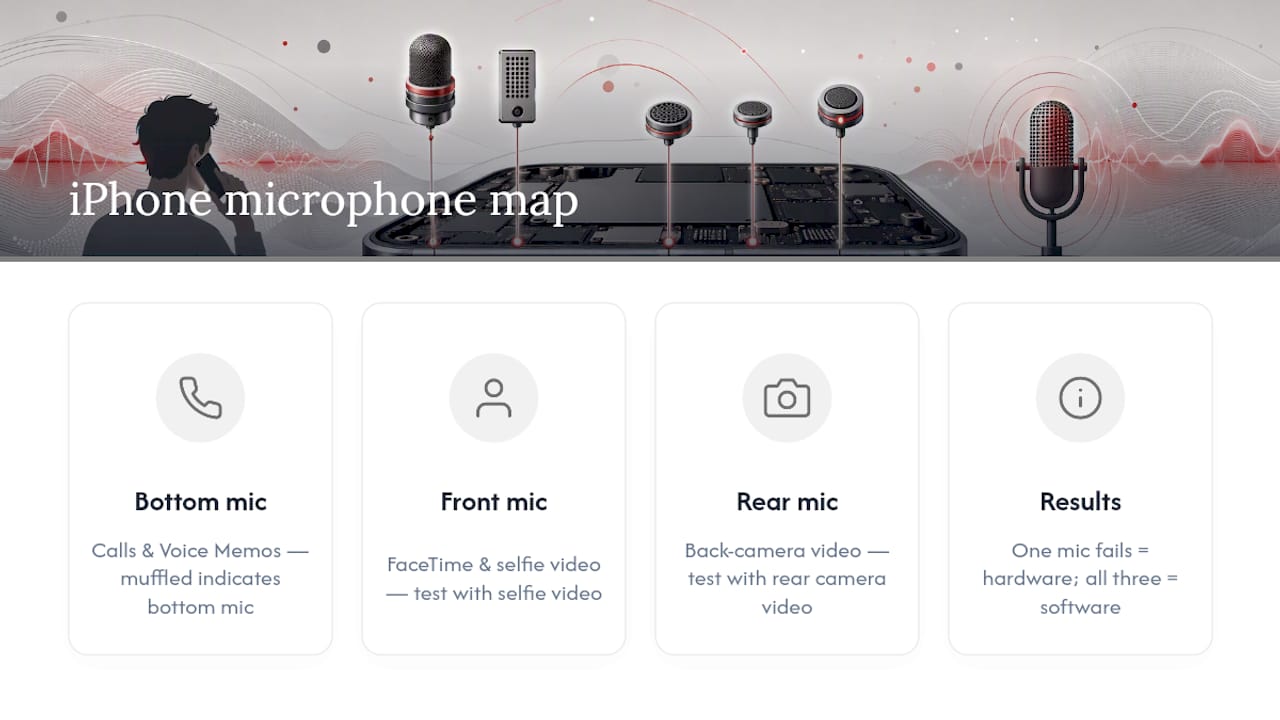
Microphone-test confirms that testing each mic individually using Voice Memos, front-camera video, and rear-camera video reliably isolates whether the problem is hardware or permission related.
Test the bottom microphone Open the Voice Memos app, record a short clip, and play it back. Muffled, silent, or distorted audio points to a fault with the bottom mic specifically.
Test the front microphone Open the Camera app, switch to selfie mode, and record a short video. Play it back and listen for your voice. This mic handles FaceTime calls and front-facing video, so a fault here will affect those directly.
Test the rear microphone Switch the camera to the rear lens and record another clip. The rear mic captures audio during standard video recording. If this one sounds wrong while the others are fine, the fault is isolated to the back of the device.
Test with FaceTime or Siri Ask Siri a question or make a FaceTime call. If Siri cannot hear you but Voice Memos worked fine, the issue is likely a software permission or routing problem rather than a broken component.
How to read the results One mic failing while the others work normally suggests a hardware fault, physical blockage, or localised damage. All three mics failing at once points to a software issue, a settings conflict, or a system-wide permission block — which is actually good news, because software problems are usually fixable at home.
Pro Tip: Test once with your normal case on, then again with the case removed. If the results differ, the case is covering a microphone opening. Also test after toggling Bluetooth off — a connected accessory can make all three mics appear silent when audio is simply being routed away from the phone.
Common causes of iPhone microphone problems, ranked by how often they occur
Understanding the cause helps you pick the right fix rather than working through a random list of steps. Here are the most frequent culprits, starting with the ones most likely to affect your phone today.
Debris and lint in the microphone openings. The bottom mic sits next to the charging port and collects pocket fluff constantly. Even a thin layer of compacted lint can muffle audio significantly.
Case or screen protector obstruction. Thick cases, wallet cases, and poorly fitted screen protectors can physically cover one or more mic grilles. This is the single easiest fix and the first thing to check.
Bluetooth audio routing. When a Bluetooth headset, speaker, or car kit is connected, iOS routes microphone input to that accessory automatically. Lifewire notes that technicians recommend disconnecting Bluetooth in Control Centre as the first step, because users frequently mistake this for a hardware fault.
Per-app microphone permission denied. An app that has been refused microphone access records silence without displaying any error message. Go to Settings › Privacy & Security › Microphone and check that the app in question has permission toggled on.
iOS software bugs or a pending update. A software fault can disable microphone access across multiple apps at once. Restarting the phone or installing a pending iOS update often clears this immediately.
Connected accessory with a failing microphone. A low-battery AirPod or a worn-out headset mic can produce intermittent or distant audio during calls. The phone itself is fine; the accessory is the problem. Removing it and retesting confirms this quickly.
Liquid exposure. Water or moisture inside the microphone capsule causes muffled, crackling, or intermittent audio. iPhones with an IP rating can still suffer mic damage from prolonged submersion or exposure to steam.
Physical impact. A drop can dislodge the microphone connector or crack the capsule without leaving visible external damage. If the mic stopped working after a fall, impact damage is the likely cause.
Component failure over time. Microphone capsules do wear out, particularly on older devices. This tends to produce a gradual decline in audio quality rather than a sudden failure.
Step-by-step fixes to try at home before booking a repair
Work through these in order. The steps at the top take seconds and fix the majority of cases; the steps further down are more involved but still safe to do yourself.
Remove your case and screen protector. Check whether any part of the case covers the bottom grille, the front earpiece area, or the rear camera module. Test with Voice Memos after removing it.
Turn off Bluetooth. Open Control Centre and toggle Bluetooth off. Retest immediately. If the mic works now, the fault was audio routing to a paired device, not the iPhone itself.
Check microphone permissions. Go to Settings › Privacy & Security › Microphone. Find the app you were using when the problem occurred and make sure the toggle is on. Toggle it off and back on if it was already enabled.
Restart your iPhone. A standard restart clears temporary software states that can block microphone access. Hold the side button and a volume button, slide to power off, wait ten seconds, and turn it back on.
Install any pending iOS update. Go to Settings › General › Software Update. Apple regularly releases patches that fix audio and microphone bugs. Install the update, restart, and retest.
Clean the microphone openings safely. Use a clean, dry, soft-bristled brush (a clean toothbrush works well) to gently brush across the bottom grille and any other mic openings. Lifewire advises against inserting metal pins or spraying high-pressure compressed air, both of which can permanently damage the microphone capsule. A short burst of low-pressure air from a can held at an angle is acceptable; direct high-pressure blasts are not.
Test without accessories. Unplug any wired headphones, remove any Lightning or USB-C adapters, and unpair Bluetooth devices. Retest with the built-in mic only.
Reset All Settings. Go to Settings › General › Transfer or Reset iPhone › Reset › Reset All Settings. This clears every system preference, including audio routing settings and app permissions, back to factory defaults. It does not delete your photos, apps, or data. It does reset Wi-Fi passwords, display settings, and notification preferences, so note those down first.
If the microphone still does not work after completing all eight steps, the problem is hardware. At that point, further home troubleshooting is unlikely to help and could risk additional damage, particularly if liquid is involved. A professional diagnostic is the right next step.
For issues that appear after an iOS update and affect multiple apps at once, the Technobezz troubleshooting guide also suggests checking whether the problem appeared immediately after the update and, if so, waiting for a follow-up patch before pursuing hardware repair.
When should you book a professional repair in the UK?
Stop troubleshooting and book a repair if any of the following apply:
One microphone consistently fails after isolation testing, cleaning, and a Reset All Settings.
The phone was dropped and the mic stopped working immediately afterwards.
The phone was exposed to liquid and audio is now muffled, crackling, or intermittent.
All three mics fail and a full iOS reinstall has not resolved it.
The mic works intermittently in a way that suggests a loose connector rather than a software state.
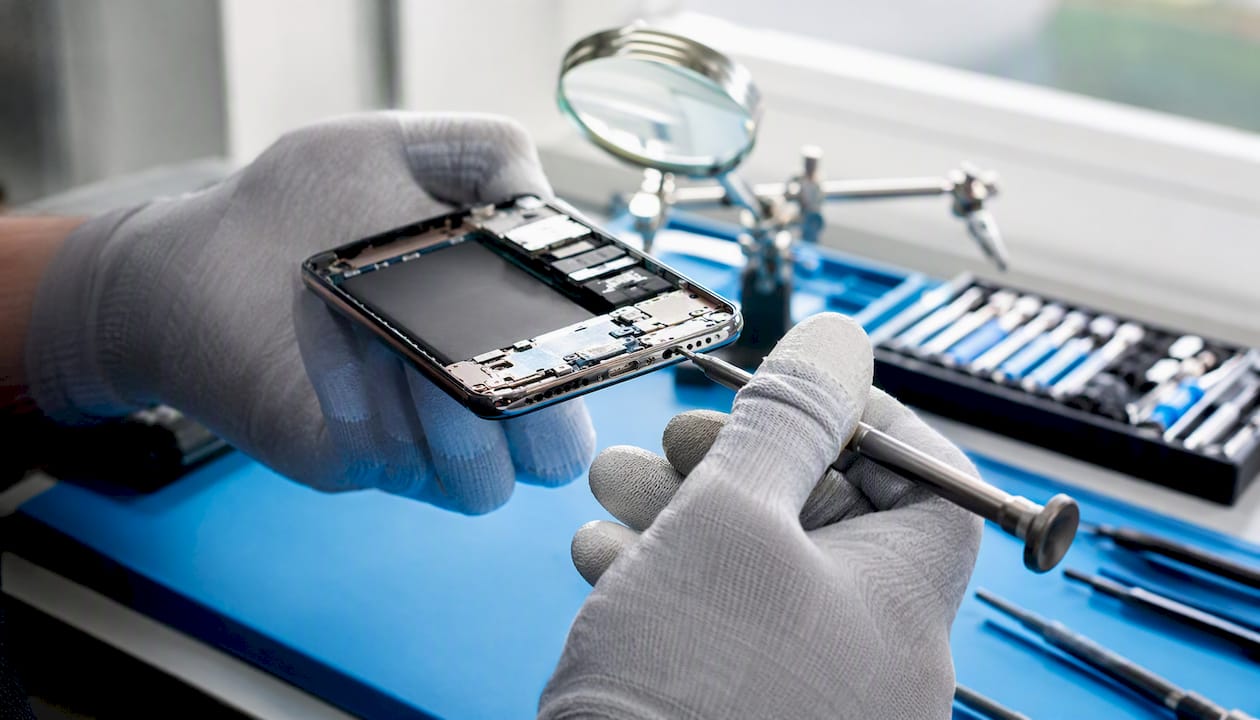
A professional repair shop will run a structured diagnostic before quoting any work. At Rapidrepairsldn, the process starts with a three-mic recording test, a visual inspection for corrosion or impact damage, and a connector check before any parts are discussed. You can read more about what professional iPhone repair involves and why a proper diagnostic matters before committing to a fix.
What to expect on cost and time in the UK Microphone repairs in the UK typically vary in price depending on the model and whether the fault is a simple module swap or a board-level repair. Most straightforward microphone replacements are completed the same day or within a short period at a local shop. Board-level repairs take longer, usually a few days. These are indicative ranges; a shop will give you a firm quote after the diagnostic.
AppleCare+ vs third-party repair If your iPhone is covered by AppleCare+, an Apple Authorised Service Provider can carry out the repair using genuine parts without voiding your coverage. Third-party shops like Rapidrepairsldn offer faster turnaround and competitive pricing, and reputable shops use quality replacement components with their own repair warranty. The key question to ask any shop is whether the repair carries a written guarantee and what it covers.
Before you go to the shop
Back up your iPhone to iCloud or your computer.
Note down your symptoms: which mic fails, when it started, whether there was a drop or liquid exposure.
Remove your iCloud account only if the shop specifically asks for it (most diagnostics do not require this).
Bring any accessories that seem to trigger the fault.
What a technician checks during a microphone diagnostic
A reliable repair shop does not guess. The diagnostic workflow at Rapidrepairsldn follows a structured checklist that rules out causes in order, from the simplest to the most complex.
Three-mic recording test. The technician records a short clip using each microphone independently to confirm which one is affected and how severely.
Visual inspection. The device is examined under magnification for corrosion around the microphone grille, signs of liquid ingress (triggered LCI indicators), and any impact damage to the chassis.
Accessory and connector check. The microphone flex cable and its connector to the logic board are inspected for damage, corrosion, or a loose seating. A disconnected or corroded connector is a common cause of intermittent faults.
Board-level voltage test. If the connector and flex look intact, the technician checks whether the microphone circuit on the logic board is receiving the correct voltage. This identifies whether the fault is in the component itself or in the board circuitry feeding it.
Component substitution. Where appropriate, a known-good microphone module is temporarily installed to confirm whether replacing the component resolves the fault before a final quote is given.
Rapid Repairs London uses this workflow to determine whether a microphone module replacement or a deeper board repair is required, which keeps unnecessary part replacements to a minimum.
What a reliable quote includes A trustworthy quote will itemise labour, parts, and VAT separately. Bench time for a microphone diagnostic is typically 30–60 minutes. The repair itself, if it is a module swap, usually adds another 30–60 minutes on top. Ask whether the quote is fixed or subject to change if additional faults are found during the repair.
Pro Tip: If your iPhone has been near water, photograph any visible moisture or corrosion before handing it in. This helps the technician assess the extent of liquid ingress quickly and gives you a record of the phone’s condition at drop-off. Liquid damage can spread over time, so the sooner you bring it in, the better the outcome tends to be.
The fix most people skip — and why it matters more than you think
The standard advice for an iPhone mic not working runs through the same list in the same order: restart, update, reset. That advice is not wrong, but it skips the single most useful step — isolating which microphone has actually failed before doing anything else.
Most guides treat the iPhone as if it has one microphone. It has three, and they fail for different reasons. The bottom mic collects lint; the front mic gets blocked by cases; the rear mic takes the brunt of impact damage from drops. Running a ten-second Voice Memos test and a quick camera clip takes less than two minutes and immediately tells you whether you are dealing with a software issue affecting all mics or a localised hardware fault. That distinction changes everything: a software fault is almost always fixable at home, while a hardware fault on a single mic needs a technician.
The other step that gets skipped far too often is the Bluetooth check. Bluetooth audio routing is probably the most common “microphone failure” that is not actually a microphone failure at all. The phone is working perfectly; it is just sending audio to a headset that is sitting on a shelf across the room. Toggling Bluetooth off in Control Centre takes three seconds and rules this out entirely.
Where the conventional advice genuinely falls short is on liquid damage. Most guides mention it briefly and move on. In practice, liquid damage is the cause that most urgently needs professional attention, because moisture spreads across the logic board over time. A phone that sounds muffled after getting wet today can develop far more serious faults within days if it is not dried and inspected properly. If liquid is involved, skip the home troubleshooting and bring the phone in straight away.
The honest summary: try the quick checks, run the three-mic tests, and work through the software fixes in order. If you are still stuck after Reset All Settings, stop and get a diagnostic. A good repair shop will tell you within the hour whether the fix is a £50 module swap or something more involved — and that information is worth more than another hour of guessing.
Sources
The following resources were used to compile this guide and are worth bookmarking for reference:
Recommended
Comments