
What causes an iPhone green line on screen?
- 2 hours ago
- 11 min read
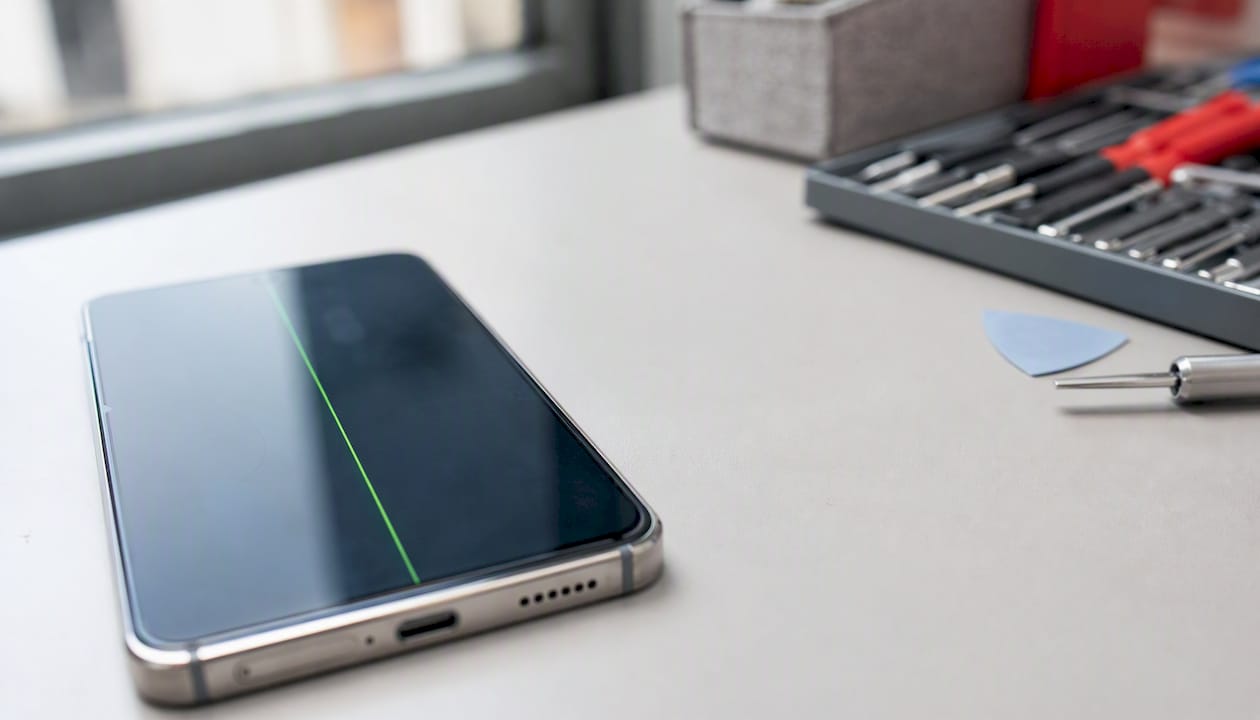
A solid vertical green line on your iPhone screen almost always points to a hardware fault, specifically an OLED panel failure or a damaged display connector. A green tint or wash that shows up in screenshots, on the other hand, is typically a software rendering issue that iOS updates can sometimes resolve. Knowing which one you are dealing with changes everything about what you do next.
Before anything else:
Back up your iPhone to iCloud or your computer right now, before you try any fixes
Take a screenshot (press Volume Up and Side button together on Face ID models) and check whether the green line appears in the saved image
Force restart the phone to rule out a temporary software glitch
If the line is visible during the boot screen or does not appear in screenshots, start planning for a professional repair rather than spending time on software fixes
Avoid pressing hard on the screen or attempting to open the device yourself, as this risks voiding your warranty and can worsen any existing water resistance seal
Key takeaways
A solid vertical green line that does not appear in screenshots is almost always a hardware fault requiring professional repair; a green tint visible in screenshots is typically a software issue that iOS updates or a settings reset can resolve.
Point | Details |
Screenshot test first | Take a screenshot immediately: line in the image means software; clean image means hardware or connector fault. |
Back up before anything | Back up to iCloud or a computer before any reset, restore, or repair attempt to protect your data. |
Software fixes to try | Force restart, update iOS, reset All Settings, and toggle True Tone and Night Shift before booking a repair. |
Book repair if line persists | If the line survives a full restore or is present at boot, professional diagnosis is the right next step. |
Rapidrepairsldn | Offers free bench diagnostics, same-day screen replacement, and board-level repair from north London. |
Table of Contents
What causes the iPhone green line screen issue?
The most common cause of a green line on an iPhone display is OLED subpixel column failure. OLED screens drive pixels in vertical columns; when a single column’s drive line or its display driver circuit fails, the result is a persistent coloured vertical line, and green is the most frequent colour because of how the subpixel arrangement works. This is a physical fault inside the panel itself, and no software update will fix it.
A second hardware cause is a loose or damaged display connector. The ribbon cable that connects the screen to the logic board can be partially dislodged by a drop, by pressure, or simply by the phone flexing over time. Community reports describe green lines that appear and disappear with slight pressure or temperature changes, which is a reliable sign of a connector or solder joint problem rather than a fully failed panel.
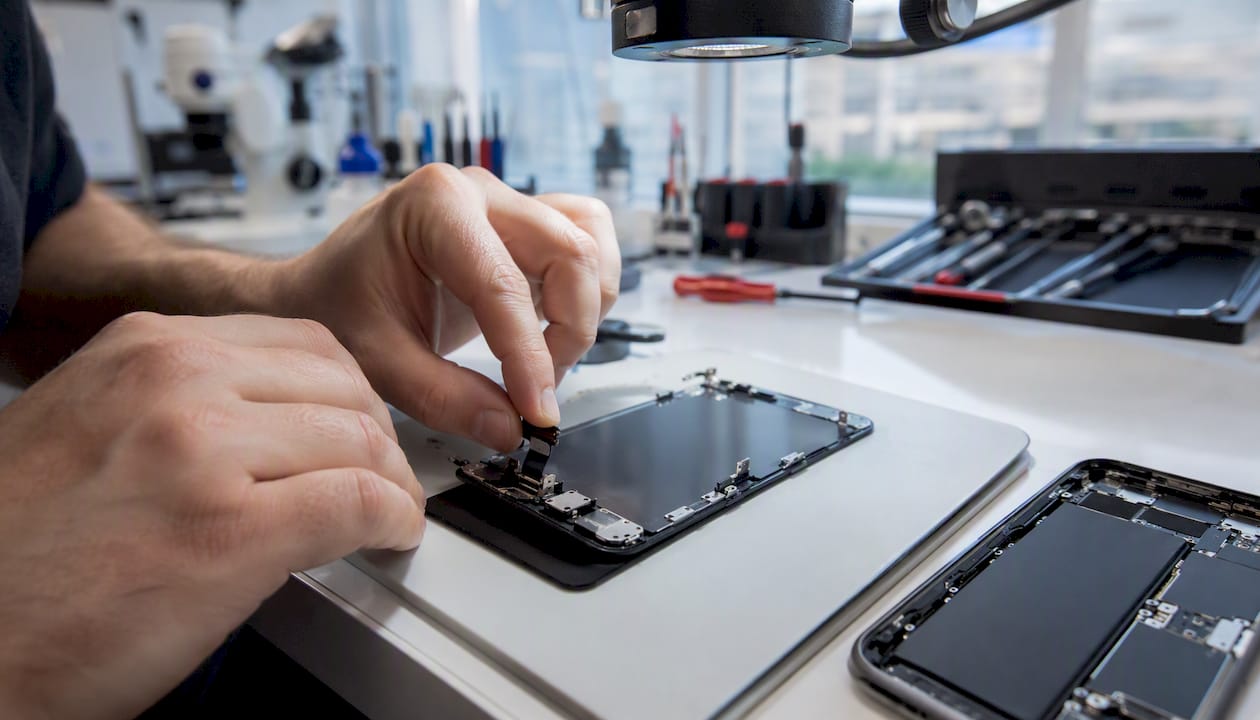
Impact damage, water ingress, and manufacturing defects round out the main hardware causes. A drop does not need to crack the glass to damage the panel internally. Moisture can corrode the display connector over days or weeks after exposure, so a green line that appears well after a splash is still likely water-related.
On the software side, the causes are different. A green tint visible in screenshots is usually a rendering bug, sometimes triggered by a failed or interrupted iOS update that corrupts display calibration data. True Tone and Night Shift settings interacting at low brightness can also produce a greenish cast on some models. A corrupted display driver from an interrupted update can even cause a full green screen, in which case Recovery Mode or DFU restore is the appropriate response.
How the symptom maps to the cause:
Green line not in screenshots → hardware fault (panel or connector)
Green tint visible in screenshots → software rendering issue
Full green screen with no UI → severe software crash or significant hardware failure
Line changes with pressure or warmth → connector or flex cable stress
Apple Support recommends having any persistent display fault assessed by Apple or an authorised provider to determine whether it falls under warranty coverage.
How to tell a software problem from a hardware problem
Run these checks in order before spending money on a repair. They take under ten minutes and will tell you clearly which direction to go.
Force restart your iPhone. On Face ID models: press and quickly release Volume Up, press and quickly release Volume Down, then hold the Side button until the Apple logo appears. This clears temporary software states without touching your data.
Take a screenshot immediately after restart. Press Volume Up and the Side button together. Open Photos and zoom in on the saved image. If the green line is visible in the screenshot, the cause is almost certainly software. If the screenshot is clean, the fault is in the physical display or its connector.
Watch the boot screen. If the line is present on the Apple logo screen during startup, before iOS has loaded, that is strong evidence of a hardware fault. Software cannot produce a line at that stage.
Check across multiple apps and at different brightness levels. A line that appears only in one app at one brightness setting points to a rendering or calibration issue. A line that is always there, at every brightness, in every app, points to hardware.
Toggle True Tone, Night Shift, and Dark Mode. Go to Settings > Display & Brightness and switch each one off. Some users find a green cast reduces or disappears when these are disabled, which confirms a software or calibration cause.
Try a different display mode. Switching between Standard and True Tone display modes (Settings > Display & Brightness) can sometimes reveal whether the tint is tied to colour processing.
iDownloadBlog confirms that a line persisting through the boot screen almost always requires professional inspection rather than software troubleshooting.
Pro Tip: Gently rotate or tilt the phone while watching the line. If it flickers, shifts, or briefly disappears, that behaviour points to a loose connector rather than a dead panel. Do not press hard on the screen to test this — light observation is enough, and pressing firmly can cause further damage.
Software fixes and safe checks to try before booking a repair
If your screenshot test showed the green line or tint in the image, work through these steps in order. Back up first — some of these steps carry a small risk of data loss.
Back up your iPhone. Use iCloud (Settings > [Your Name] > iCloud > iCloud Backup > Back Up Now) or connect to a Mac or PC and back up via Finder or iTunes. Do this before anything else.
Update iOS. Go to Settings > General > Software Update. Point iOS releases frequently include quiet fixes to display rendering and colour calibration. If a green tint appeared right after an update, the next point release may resolve it without any repair.
Toggle display settings. Turn off True Tone, Night Shift, and Dark Mode one at a time, restarting between each change, to see whether any single setting is the trigger.
Uninstall or update suspect apps. If the tint appears only in one app, delete and reinstall it. A GPU-heavy app with a rendering bug can produce display artefacts that look like a hardware fault.
Reset All Settings. Go to Settings > General > Transfer or Reset iPhone > Reset > Reset All Settings. This restores display calibration and system preferences to defaults without deleting your photos or apps. It is the safest reset option.
Consider Recovery Mode restore only if comfortable. If the above steps fail and you are confident in your backup, connect to a Mac or PC, open Finder (or iTunes on Windows), and use Recovery Mode to restore iOS. This erases the phone, so a complete backup is non-negotiable beforehand. For a severe software crash or interrupted update, a DFU restore goes deeper still, but it carries more risk and is best left to a technician if you are unsure.
What not to attempt at home:
Opening the device to reseat the connector without proper tools and experience
Applying heat to the screen to try to fix a connector issue
Using unqualified screen-repair kits that involve motherboard desoldering
Pressing or squeezing the frame to try to shift the display connector back into place
For related display symptoms that appear during boot, the guide on fixing an iPhone stuck on the Apple logo covers Recovery Mode steps in more detail.
Pro Tip: If the green line appeared immediately after a drop, skip the software steps entirely. A physical impact that damages the panel will not respond to iOS resets, and spending time on software troubleshooting just delays the repair.
When does the green line need professional repair?
Stop troubleshooting and book a repair if any of these apply:
The line is present on the boot screen before iOS loads
The line does not appear in screenshots (hardware confirmed)
The phone was dropped or exposed to liquid before the line appeared
The line has returned after a full restore
The display shows a full green screen or has no visible UI
Repair routes in the UK
Apple Support documents how to check your warranty status and start a repair request online before visiting a store.
Practical steps before any repair:
Check your warranty status at checkcoverage.apple.com using your serial number
Confirm whether you have AppleCare+ active, as screen damage is covered subject to an excess fee
Bring proof of purchase to any repair appointment
Ask whether a diagnostic fee applies or whether the assessment is free
Water damage is a separate category. It often requires longer diagnostics because corrosion can spread to components beyond the display. If your phone has been exposed to liquid, tell the technician upfront. Apple will determine coverage on inspection; independent shops will typically run a full board inspection before quoting.
For broader display failure symptoms, the article on what causes an iPhone black screen covers diagnostic logic for more severe hardware faults.
What to ask when choosing where to get your iPhone repaired
A few direct questions will quickly separate a trustworthy repair shop from one to avoid.
Ask these before handing over your phone:
Are the replacement parts OEM (original equipment manufacturer) or third-party? What brand?
Does the repair come with a written warranty on both parts and labour, and for how long?
Will water resistance be restored after the screen replacement?
Is the diagnostic included in the repair price, or charged separately?
What is the realistic turnaround time, and will you be notified if it changes?
How is customer data handled during the repair?
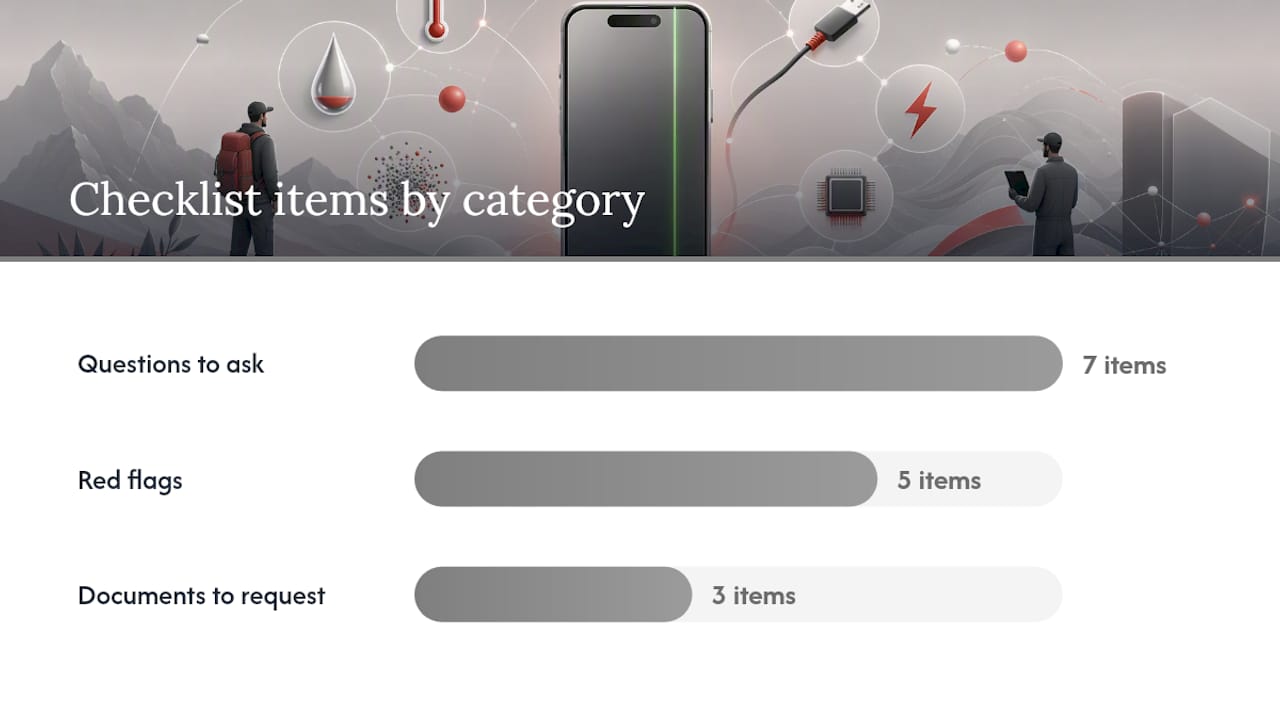
Red flags to watch for:
No written estimate or warranty offered
Vague answers about parts provenance (“good quality” without specifics)
Pressure to approve additional repairs before seeing a diagnostic result
No visible repair bench or workshop area
Very few reviews, or reviews that mention recurring faults after repair
Documentation to request:
A written estimate before work begins
Confirmation that the serial number is logged against the repair
A post-repair demonstration showing the screen working correctly before you leave
iFixit’s repair guidance notes that third-party repairs can affect water resistance and warranty status, so understanding exactly what a shop will and will not restore is worth confirming in writing.
For general display troubleshooting before committing to a repair, Device Giant’s display fault guide covers common checks across phone models.
How Rapidrepairsldn diagnoses green-line faults
Understanding the shop’s diagnostic process helps you know what to expect when you bring your phone in. Here is the standard workflow used at Rapidrepairsldn for a green-line fault.
Intake and symptom logging. The technician records exactly when the line appeared, whether there was any drop or liquid exposure, and what the customer has already tried. This shapes the diagnostic path.
Screenshot and boot test. The phone is restarted and a screenshot is taken immediately. The boot screen is observed for the line before iOS loads. These two checks take under two minutes and immediately indicate hardware or software.
Bench swap with a known-good panel. A verified working display is temporarily connected to the logic board. This is the fastest way to isolate whether the fault is in the panel itself or in the logic board’s display driver circuit. If the line disappears with the test panel, the original screen is the problem. If it persists, the fault is on the board.
Connector inspection under magnification. The display flex connector is examined for bent pins, corrosion, or partial seating. Many intermittent green-line faults are resolved at this stage.
Multimeter checks on display flex and supply rails. If the bench swap points to a board fault, the technician checks the display driver supply rails and flex cable for open circuits or shorted traces. This determines whether a component-level board repair is viable.
Logic board inspection for corrosion or impact marks. The board is examined under a microscope for signs of liquid damage or physical stress near the display driver IC.
When a screen replacement is the answer: panel or subpixel failure confirmed by the bench swap, with a clean board. This is the most common outcome and typically the quickest repair.
When board-level work is needed: connector damage, a failed display driver IC, or corrosion on the supply rails. This takes longer and costs more, but it is the correct repair when the panel itself is not the root cause.
Pro Tip: The bench-swap test costs nothing extra at Rapidrepairsldn and takes around 15 minutes. It prevents unnecessary screen replacements and gives you a clear answer before any parts are ordered. Ask for it specifically if you are unsure whether your fault is panel or board.
For a related look at how display diagnostics apply to other symptoms, the article on why your iPhone screen flickers covers calibration and connector issues in more detail.
An honest view on green-line repairs and what to expect
Most green-line faults on iPhones are straightforward screen replacements. The diagnostic process at Rapidrepairsldn is designed to confirm that before any parts are ordered, so you are never paying for a screen swap when the real fault is on the board.
What customers often underestimate is how quickly a connector fault can progress. A line that flickers intermittently today can become a permanently dead display within days if the connector is partially dislodged. Getting a diagnostic early, even before the fault becomes constant, is almost always cheaper than waiting.
On warranty questions and AppleCare+, the shop can help you check your coverage status and advise on whether an Apple route makes more financial sense for your specific model. There is no pressure to proceed with an independent repair if Apple’s warranty covers the fault.
Data safety is taken seriously throughout. The phone is never factory reset as part of a diagnostic, and customers are reminded to back up before drop-off as a precaution.
If you have run through the software steps in this article and the line is still there, the most useful next step is a hands-on bench test rather than more DIY troubleshooting. It takes the guesswork out of the decision entirely.
Rapidrepairsldn can diagnose and fix your iPhone green line today
A persistent green line that survives a force restart and does not show in screenshots needs a bench test, not another settings reset. Rapidrepairsldn offers same-day and next-day iPhone screen replacement and diagnostics from its north London workshop, with no obligation to proceed until you have seen the diagnostic result.
Services available for green-line faults:
Free bench diagnostic including screenshot test, boot test, and panel swap
Same-day or next-day screen replacement using quality parts, with a written warranty on parts and labour
Board-level diagnostics and repair for connector damage or display driver faults
Water damage restoration with full board inspection and corrosion treatment
AppleCare+ and warranty checks so you know your options before spending anything
Book a diagnostic appointment or drop in at the Rapid Repairs London shop to get a clear answer on your iPhone’s green line fault today.
Sources
Official guidance:
Repair and troubleshooting resources:
Rapidrepairsldn repair and diagnostic pages:
Recommended
Comments