
iPhone back glass repair steps: your 2026 guide
- a few seconds ago
- 8 min read
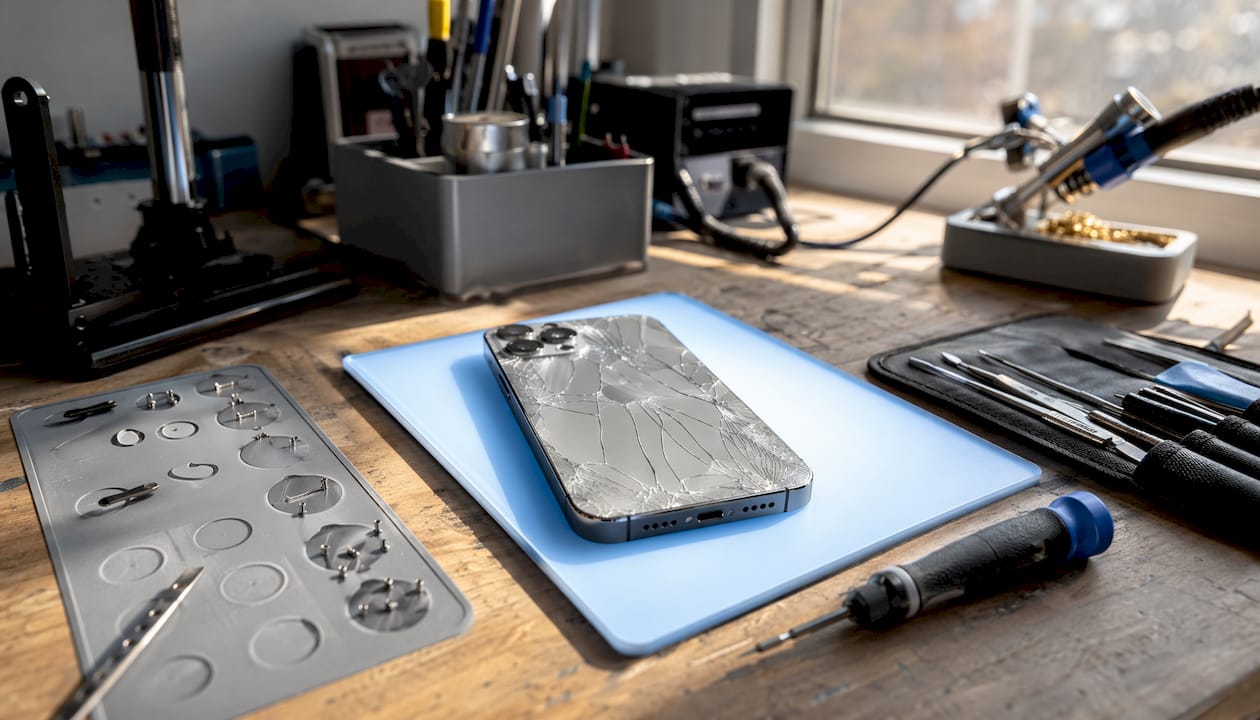
iPhone back glass repair is defined as the process of removing a cracked rear glass panel, cleaning the chassis frame, and bonding a new glass panel with fresh adhesive to restore your device’s appearance and structural integrity. The iphone back glass repair steps covered here follow 2026 professional standards used by technicians at Rapidrepairsldn. Done correctly, you can complete this repair at home with the right tools, patience, and a clear process. Rushing any stage risks damaging internal cables, losing water resistance, or cracking the new panel before it even seats properly. This guide walks you through every stage, from gathering tools to final function testing, so you finish with a device that looks and works like new.
What tools and materials do you need for iPhone back glass repair?
The right tools make the difference between a clean repair and a damaged phone. Gather everything before you start, because stopping mid-repair to hunt for a screwdriver causes mistakes.
Essential tools:
Pentalobe P2 screwdriver (for the two bottom screws)
Tri-point Y000 screwdriver (for internal shield screws)
Plastic opening picks (at least three)
Suction cup handle
Plastic spudger
Heat gun or heating mat
Tweezers
Safety and organisation supplies:
Safety glasses (glass shards are a genuine hazard)
Protective tape or clear packing tape (to contain shattered glass)
Magnetic mat or labelled screw tray
Isopropyl alcohol at 90% concentration or higher
Replacement parts:
High-quality rear glass panel with adhesive pre-applied
Replacement adhesive strips if your panel does not include them
Keeping screws organised on a magnetic mat prevents a common and serious mistake. Different screw lengths placed in the wrong hole during reassembly can permanently damage the logic board. Label each screw position clearly as you remove them.
Item | Why you need it |
Pentalobe P2 screwdriver | Removes the two bottom Lightning or USB-C screws |
Tri-point Y000 screwdriver | Removes internal connector shield screws |
Heating mat or heat gun | Softens adhesive for safe glass separation |
90%+ isopropyl alcohol | Cleans chassis edges for strong adhesive bond |
Magnetic screw mat | Prevents logic board damage from wrong-length screws |
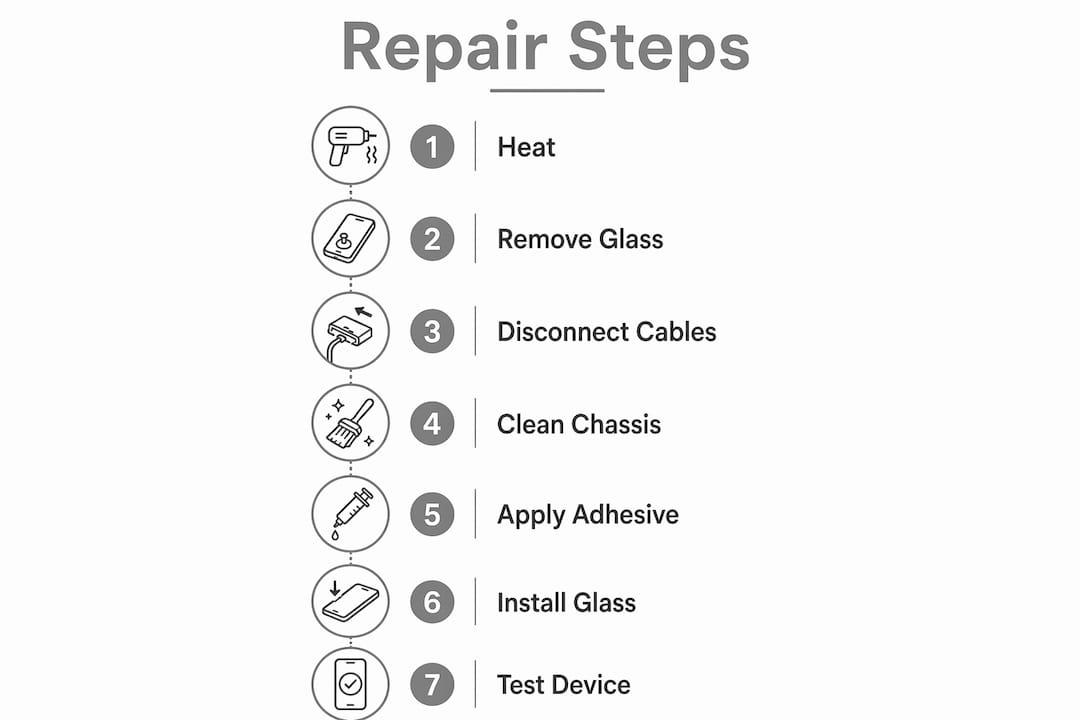
How to safely heat and separate the cracked back glass adhesive
Controlled heat is the single most important technique in this repair. Apple bonds the rear glass with a strong adhesive that will not release without it.
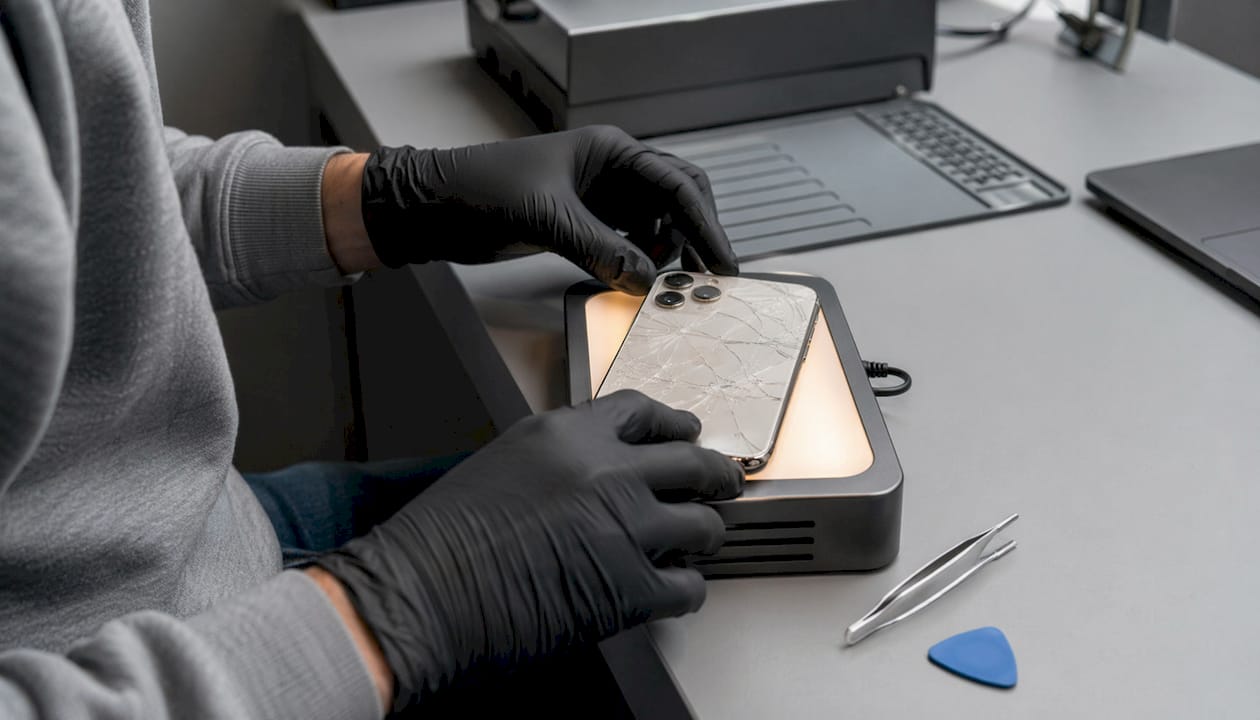
A heating mat set to 75°C–80°C applied for five minutes softens the adhesive evenly across the panel. If you use a heat gun instead, keep it moving around the edges for two to three minutes. Even heat distribution protects the battery and internal components from localised hot spots that can cause swelling or damage.
Follow these steps once the device is warm:
Power off your iPhone completely before applying any heat.
Apply protective tape over the cracked glass to contain loose shards.
Heat the rear panel using your mat or heat gun as described above.
Press the suction cup firmly onto the back glass near the bottom edge.
Pull the suction cup gently upward to create a small gap between the glass and the frame.
Slide a plastic opening pick into the gap at the bottom edge.
Slice slowly along the bottom edge, then work up each side.
Never insert an opening pick deeper than 3mm. Exceeding this depth risks slicing the wireless charging flex cable that runs just inside the frame near the volume buttons. A severed flex cable means a far more expensive repair.
Pro Tip: Reheat the panel for 30 seconds every time you move to a new edge. Adhesive cools quickly and stiffens again, which increases the force needed and the risk of cracking your new glass during removal.
How to remove the back glass and disconnect internal cables
With the adhesive sliced around all four edges, the panel is ready to lift. This stage requires patience. Pulling the glass off forcefully tears the flex cable that connects the rear panel to the logic board.
Open the back glass like a book, hinging it from the left side of the device. Do not pull it straight back.
Lay the panel flat beside the phone without stretching the attached flex cable.
Use your Tri-point Y000 screwdriver to remove the screws securing the connector shield over the back glass flex cable connector.
Lift the metal shield away with tweezers and set it aside on your magnetic mat.
Use a plastic spudger to gently prise the flex cable connector upward from its socket. Work from one side to the other. Never lever from the centre.
The back glass panel is now fully detached. Set it aside.
Pro Tip: If your back glass is badly shattered, apply two full layers of clear packing tape before heating. This holds the fragments together and prevents glass dust from falling into the open device during removal.
The ribbon cables near the rear panel are fragile. They tear easily if you apply sideways force. Always lift connectors straight up, and use a plastic spudger rather than a metal tool to avoid short circuits.
How to clean the chassis and apply new adhesive
Chassis cleaning is the step most DIY repairs get wrong. Rushing it causes adhesive failure, uneven seating, and pressure points that can crack the new glass within days.
Follow this cleaning process carefully:
Use a plastic tool or old opening pick to scrape away all old adhesive residue from the frame edges. Work slowly and do not gouge the metal.
Wipe the frame edges with a lint-free cloth soaked in 90%+ isopropyl alcohol. Repeat until no residue remains.
Inspect the frame under good lighting for any remaining glass dust or adhesive lumps. Even a small lump will prevent the new glass from sitting flush.
Allow the chassis to dry fully before applying new adhesive. Alcohol evaporates quickly, so this takes under a minute.
Align the new adhesive strip onto the frame carefully, pressing it down firmly with a spudger along every edge.
A bent or dented frame prevents correct glass installation and leads to water resistance failure. If your chassis shows visible damage from the original drop, assess whether the frame needs straightening before proceeding. A misshapen frame means the new glass will never seat correctly.
Pro Tip: Dry-fit the new glass before peeling the adhesive backing. Place the panel in position, check the fit along all edges, and confirm the flex cable reaches its connector comfortably. This step prevents adhesive waste and alignment errors that are costly to fix once the bond sets.
How to install the new back glass and complete reassembly
With the chassis clean and adhesive in place, you are ready to fit the new panel. This stage is satisfying when done carefully, and frustrating when rushed.
Reconnect the back glass flex cable by pressing it firmly into its socket. You should feel a light click as it seats.
Replace the metal connector shield over the flex cable connector and reinsert the Tri-point screws. Tighten them gently. Do not overtighten.
Peel the backing from the adhesive strips on the new glass panel.
Align the top edge of the glass with the top of the chassis first, then lower the panel down evenly. Watch that no cables are pinched beneath the frame.
Press the glass firmly across the entire surface with your thumbs, working from the centre outward.
Place the phone face-down under a heavy, flat object such as a stack of books, or use a repair clamp, for at least 30 minutes. This pressure sets the adhesive bond evenly.
Reinsert the two Pentalobe screws at the bottom of the device.
Before you consider the repair complete, test wireless charging, the rear flash, and the microphone with the device powered on. Discovering a fault now is far easier than reopening a fully sealed phone later.
Pro Tip: Power the phone on before the 30-minute clamping period. Run your function checks while the adhesive is still slightly pliable. If something is wrong, you can still open the panel without destroying the bond.
Key takeaways
Successful iPhone back glass replacement requires controlled heat, careful cable handling, thorough chassis cleaning, and a full function test before the adhesive sets permanently.
Point | Details |
Controlled heat is non-negotiable | Use 75°C–80°C for five minutes on a mat, or a moving heat gun for two to three minutes. |
Pick depth must stay under 3mm | Inserting deeper risks severing the wireless charging flex cable inside the frame. |
Chassis cleaning determines bond quality | Use 90%+ isopropyl alcohol and remove all residue before applying new adhesive. |
Dry-fit before committing adhesive | Place the new glass without peeling the backing to confirm fit and cable reach. |
Test functions before final seal | Check wireless charging, rear flash, and microphone while the bond is still pliable. |
What I have learned from doing this repair properly
After working on dozens of iPhone back glass repairs, the pattern I see most often is impatience at the heating stage. People apply heat for 60 seconds, feel the glass shift slightly, and assume that is enough. It is not. Adhesive that has not fully softened requires far more force to separate, and that force is what cracks the frame, tears the flex cable, or shatters the new glass on installation.
The second most common mistake is skipping the chassis inspection. A frame that looks fine to the naked eye can have a subtle bend that only becomes obvious when the new glass does not sit flush. That gap destroys water resistance and creates a stress point that cracks the glass again within weeks. I always check the frame under a bright light and run a fingernail around the edge before cleaning.
Screw organisation sounds trivial until you place a long screw into a short-screw hole and feel it bottom out too easily. That screw has just punctured the logic board. A magnetic mat with labelled positions costs very little and prevents a repair that turns a £60 glass job into a £300 board repair.
My honest advice: if your chassis is visibly bent, the glass is completely shattered into fine dust, or you are not confident with the flex cable connector, hand it to a professional. The repair is achievable for careful, patient people. It is not forgiving of shortcuts.
— Joshua
Professional iPhone repair at Rapidrepairsldn
Not every repair is a straightforward DIY job. If your chassis is damaged, your flex cables are torn, or you simply want the repair done right the first time, Rapidrepairsldn handles iPhone back glass replacement with fast turnaround and quality parts.
Rapidrepairsldn’s technicians in Finchley work on iPhones, iPads, and laptops daily. Every repair uses high-quality replacement parts, and your device is tested fully before it leaves the workshop. If you have a tablet with a cracked screen or digitiser, the team handles tablet screen repairs with the same care. Book a repair or get a quote directly through the Rapidrepairsldn website.
FAQ
How long does iPhone back glass repair take?
A careful DIY repair takes two to three hours, including heating, removal, cleaning, and clamping time. A professional technician can typically complete it faster with specialist tools.
Can I repair iPhone back glass without a heat gun?
A heating mat set to 75°C–80°C is the safer alternative to a heat gun. Without either, the adhesive will not soften enough to separate the glass without damaging the frame or internal cables.
Will repairing the back glass void my iPhone warranty?
Opening your iPhone yourself voids any remaining Apple warranty. If your device is still under warranty or covered by AppleCare+, check your options with Apple before attempting a DIY repair.
What happens if I insert the opening pick too deep?
Inserting a pick deeper than 3mm risks cutting the wireless charging flex cable. Repairing a severed flex cable requires full disassembly and significantly increases the cost of the repair.
Do I need to restore water resistance after a DIY back glass repair?
Yes. DIY repairs cannot restore the original IP-rated water resistance seal. The new adhesive provides basic protection, but your device will not meet its original water resistance rating after a home repair.
Recommended